


There’s something profoundly satisfying about a simple yet perfect pan-seared chicken dinner. Yes, we live in a world packed with Pinterest-worthy chicken recipes that tantalize the taste buds and inspire culinary creativity. Yet, there’s a unique comfort in biting into a juicy, seared piece of chicken that makes it feel like coming home. If you’re a home chef with a desire to master the art of the pan-sear, you might be surprised to learn that the secret to achieving that coveted golden crust is right under your nose—and it involves doing something completely counterintuitive.
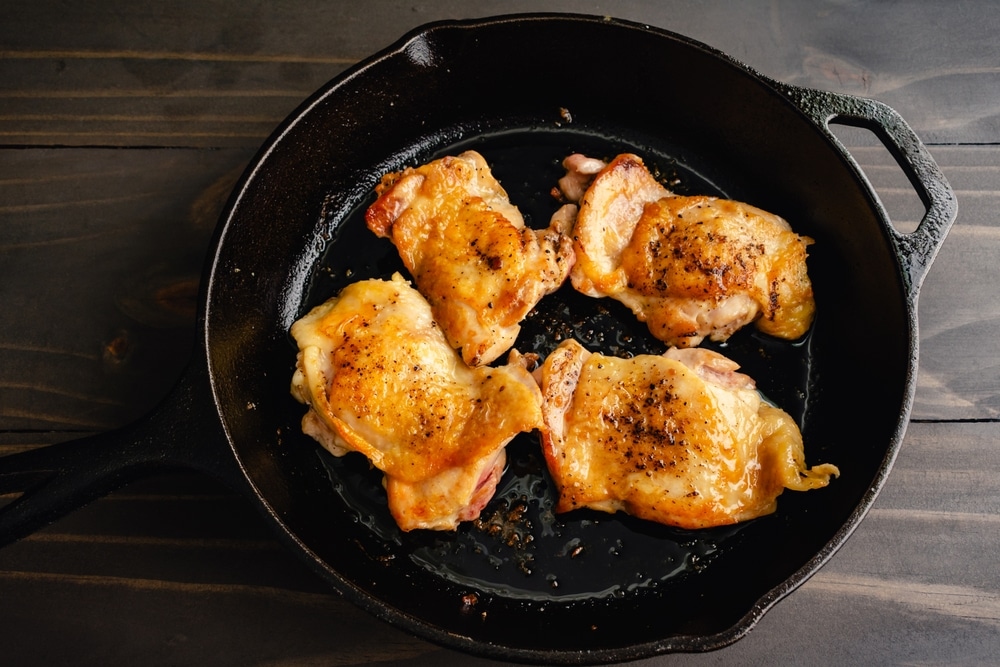
Many of us might instinctively crank the heat on our stovetops, hoping to achieve that perfect sear as quickly as possible. But as seasoned chefs might tell you, patience is key. Instead of starting with a hot pan, the path to crispy, melt-in-your-mouth chicken begins with a cold pan. Here’s how it works: place your chicken in a room-temperature skillet without any oil, set it on a cold burner, and then turn the heat to medium. Let the skillet warm up slowly with the chicken resting on the bottom. Over the next 15 minutes, the heat will gradually coax out fat from the chicken skin—this renders the fat and creates the perfect crisp without the risk of burning. What’s even better? It helps prevent that annoying scenario where the outside of your chicken is overdone, while the inside is still cold.
After that, all you need to do is flip your chicken to seal in the flavor and finish cooking it through. You’ll be amazed at the tender, juicy results that come from this tried-and-true method, which delivers the kind of chicken that would make anyone’s mouth water.
Now, if you’re feeling a bit adventurous, there’s another clever variation to try. This technique still begins with the chicken in a room-temperature pan, but here’s where it gets interesting: preheat the burner to high before placing the pan on it. Allow the cold pan and chicken to soak in that intense heat for about two minutes. This step helps eliminate any moisture on the surface, which can be particularly important for avowed crispiness. After that, lower the heat to medium and flip the chicken every couple of minutes until it’s perfectly cooked. The result? As with the first method, you’re left with a beautifully seared outside and a fork-tender juicy center.
Achieving that killer sear isn’t just a matter of technique; there are a few common pitfalls to sidestep too. One of the biggest mistakes is failing to dry your chicken before it hits the pan. Residual moisture can make it hard for that glorious crust to form, so grab your paper towels and pat your chicken dry before you start. Furthermore, avoid cooking chicken that’s straight out of the fridge. Allow it to sit for about 20 minutes so it can come to room temperature. This not only helps with achieving that beautiful sear but also ensures that your chicken is cooked evenly—a win-win!
Once you’ve mastered the art of pan-searing chicken, why stop there? Explore the countless other methods available, each promising its own unique flavor and texture. Whether you’re baking, grilling, or sautéing, there’s a whole world of delicious chicken dishes just waiting for you to discover. The joy of cooking lies in trying out new techniques and finding what resonates with you and your family.
So next time you’re in the kitchen, embrace the cold pan approach! It could be the simple adjustment that transforms your chicken dinners from good to unforgettable. The satisfaction of serving perfectly seared chicken, with crispy skin and juicy meat, is the kind of achievement that makes every effort worth it.