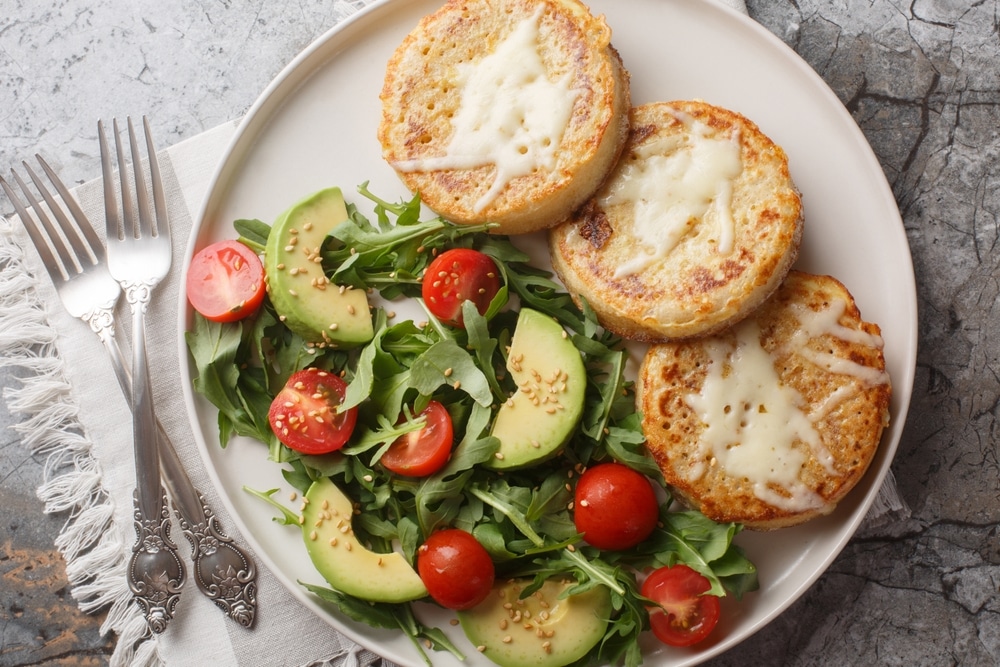
Crumpets — a delightful British treat that many of us wish we could easily find in U.S. grocery stores. While they may be a staple in the U.K., crumpets can seem elusive on this side of the Atlantic. This often leads folks like you and me to consider making our own at home. But here’s the catch: creating the perfect crumpet isn’t as straightforward as it might seem. There are a plethora of common pitfalls that can turn your homemade crumpets into disappointing blobs — think heavy, burnt bottoms, or worse yet, flat little disks with nary a hole in sight.
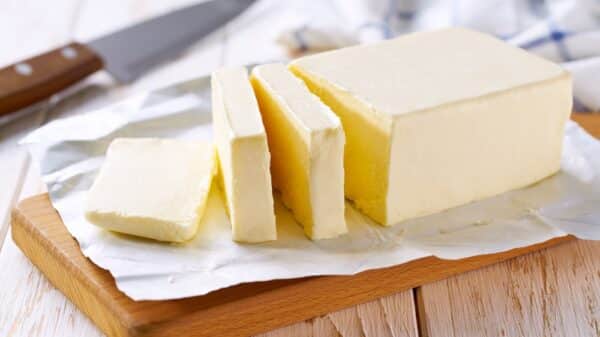
So, if you’re new to crumpets, you might be wondering, how do they differ from English muffins? Knowing this distinction is essential if you want to achieve the crumpet of your dreams. Crumpets are characterized by their signature holes that go all the way through the top. They’re best enjoyed whole and lavishly spread with butter (yes, the more the merrier!). In contrast, English muffins boast a firmer, bread-like texture and need to be sliced before they’re buttered or topped. Knowing this difference sets you on the right path to crumpet-making success.
Once you’ve clarified what you’re aiming for, it’s vital to look at the common mistakes that home chefs make when venturing into crumpet territory. Understanding where we typically go wrong and how to sidestep or fix these blunders will significantly improve your crumpet-making game. Sure, crumpets might appear straightforward to whip up, but mastering them can prove surprisingly elusive. A well-prepared crumpet from your own kitchen can far exceed any you would find in a store. However, if you end up with a poorly made batch, you’ll be kicking yourself for not just grabbing a pack from the shop. So, stay focused, and you’ll soon be savoring crumpets that are worthy of any British tea!
Now let’s dispel a common misconception: the belief that you need special tools to make crumpets. Crumpets aren’t baked; they’re cooked on the stovetop in a skillet. While traditionalists might opt for crumpet rings — those charming metal circles that yield that perfect round shape — they’re not an absolute necessity. If you’ve been hesitating to make crumpets simply because you don’t own these rings, you can breathe a sigh of relief.
There’s nothing stopping you from cooking larger crumpets in a smaller skillet and then slicing them into portions afterward. Sure, they might not have that iconic crumpet form, but they’ll taste just as delightful. This approach not only saves you some cash but also allows you to dive into crumpet-making without feeling beholden to invest in additional gadgets. If your first batch sparks a love for crumpet creation, you can always purchase those rings for your next culinary adventure.
If you’re feeling impatient and can’t wait to satisfy your crumpet cravings, or if your kitchen space is limited (because let’s face it, who among us can claim to have too much counter space?), you don’t need to worry about specialized equipment. Your crumpets may look charmingly rustic and homemade — and that’s perfectly acceptable! If you’re fixated on achieving that flawless round shape, well, those crumpet rings can always be found at the store.
A critical ingredient that you don’t want to overlook in your crumpet mixture is baking powder. You may be wondering why crumpets possess that one-of-a-kind spongy texture. It’s all thanks to a delicate balance of yeast and baking powder. If you leave out the baking powder, you’re essentially sabotaging your chance at achieving the desired crumpet experience.
While yeast gives crumpets their unique flavor and helps with fermentation, producing those oh-so-important air bubbles in the batter, baking powder acts as a magic quick fixer. It uses moisture and heat to generate carbon dioxide gas, which provides that much-needed lift. This interaction is what creates the signature holes on the surface of the crumpets as they cook. Without baking powder, you risk ending up with crumpets that are dense and lacking their classic texture.
The combination of yeast and baking powder is what elevates crumpets above regular bread. The yeast imparts a rich, fermented taste alongside a chewy inside, while baking powder assures a light, airy structure with that coveted cratered top — just waiting to soak up all that butter. So, when you’re crafting your crumpets, remember the baking powder; it’s not just an ingredient, it’s a game-changer.
Another rookie mistake to avoid is using expired baking powder. We can’t stress enough the pivotal role baking powder plays in achieving the desired crumpet texture. Without it, your crumpets could turn out heavy and devoid of the lovely holes that we all know and love. This might seem like a minor detail, but using baking powder that’s passed its expiration date can be just as disastrous. It may become inactive over time, meaning it won’t create the necessary carbon dioxide bubbles.
This can get frustrating; sometimes, baking powder can seem to hang around long after its expiration, while other times, it doesn’t work its magic even before that date. Humidity can also play a part in this, complicating matters further. The good news is, you don’t have to take a guess when it comes to the effectiveness of your baking powder. A quick test can save your crumpet-making day.
To check if your baking powder is still good, add about a ½ teaspoon to a small bowl and pour over it a ¼ cup of boiling water. If it fizzes excitedly right away, you’re good to go. If there’s a lack of bubbling enthusiasm, it’s best to toss it and grab a fresh batch. By taking this simple step, you’ll ensure you don’t end up with crumpet heartbreak due to expired baking powder.
With a better understanding of these common pitfalls and their solutions, you’re now poised to embark on your crumpet-making journey. So roll up your sleeves, gather your ingredients, and let’s get cooking! After all, there’s nothing quite like a warm, fluffy crumpet topped with a generous pat of melting butter. Enjoy every mouthwatering bite!

